Scanything setup and configuration questions

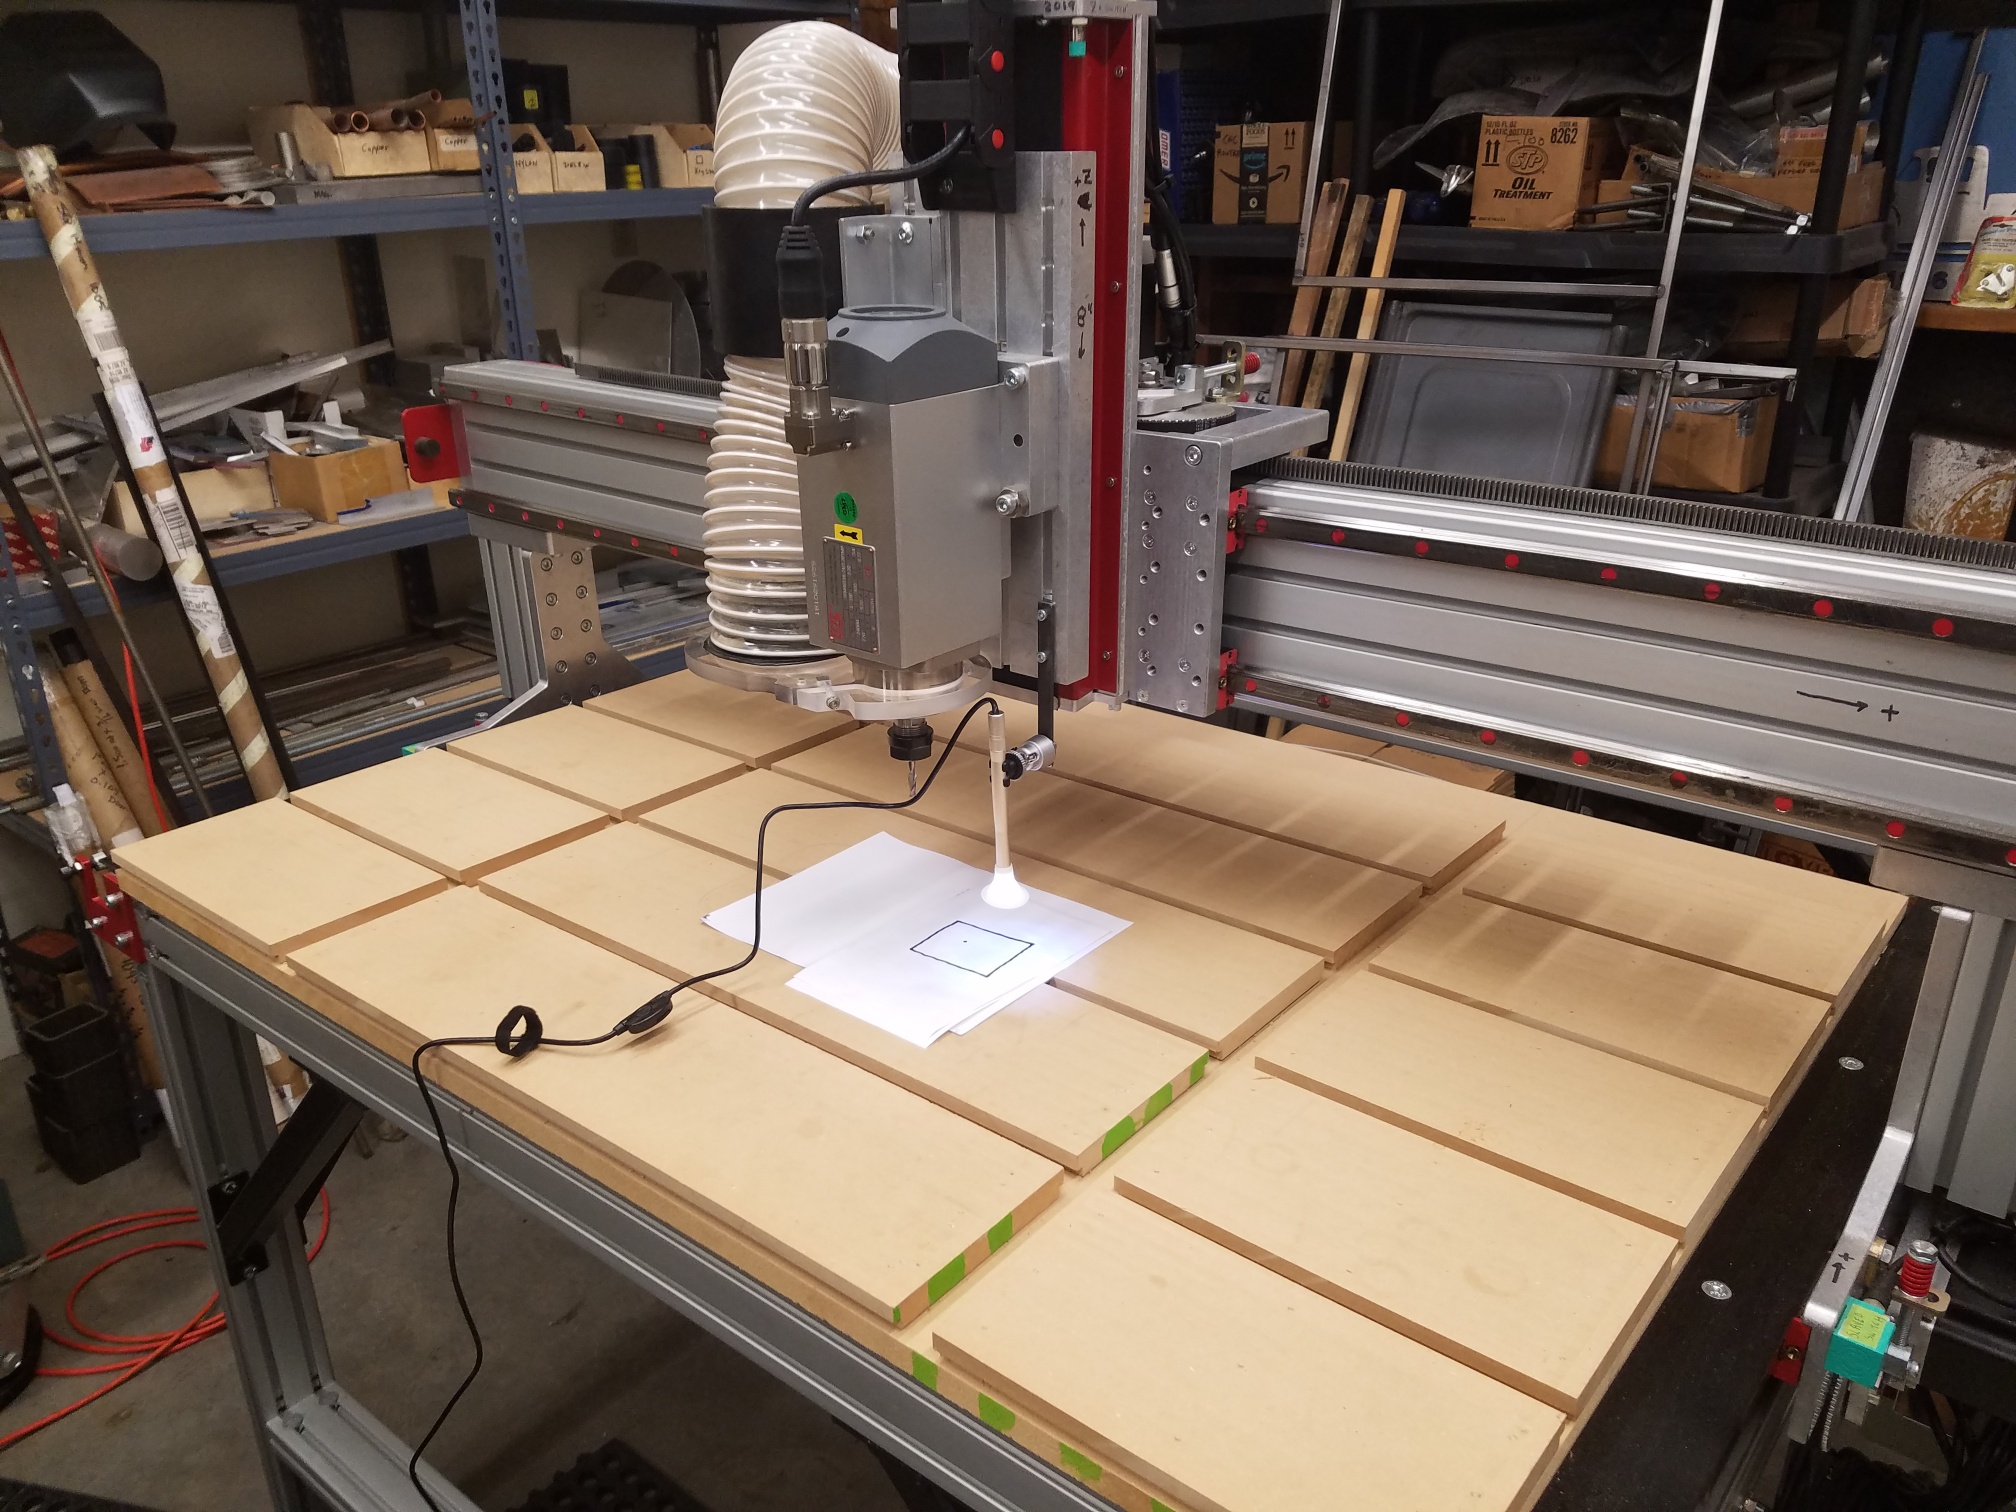
I can’t seem to find any information on the hardware requirements for Scanything. I have a 4x4 router table (CNC Router Parts pro4848). I am using Mach3 with the Warp9 ESS to run the table. The ESS/controller connects to the computer using an ethernet cable. The computer is Windows 7 - 64 bit. I have downloaded Scanything V1.0.16 from the Sheetcam website and followed the instructions for Mach3:

"Instructions for installation with Mach3
Download and install Scanything then run Mach3 and go to Config->Config plugins. Enable the SheetCamRemote plugin and restart Mach3. To test the connection, enable the drives on your machine and check if the jog buttons in Scanything work. "

Does a video camera need to be connected in order to test the connection by enabling the drives and checking to make sure the jog buttons work?
Since I can run Mach3 Mill on my desktop office computer (not the computer out in the shop that I use to run the cnc) and I have downloaded and installed Scanything onto this computer, should I be able to test the jog buttons without being connected to the cnc? I can use the keyboard to jog in Mach3 Mill, and the display shows the movement on the readouts without any hardware being connected.


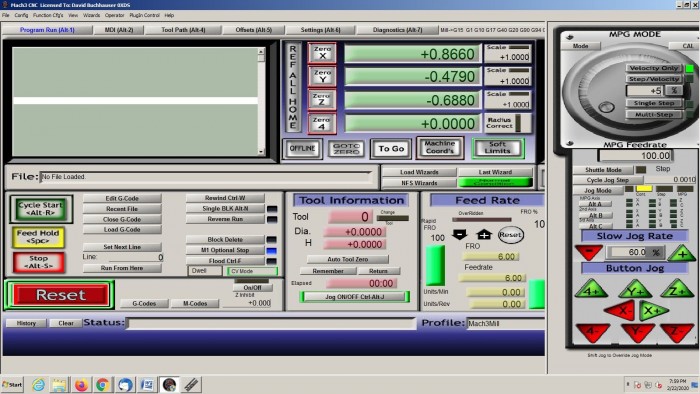
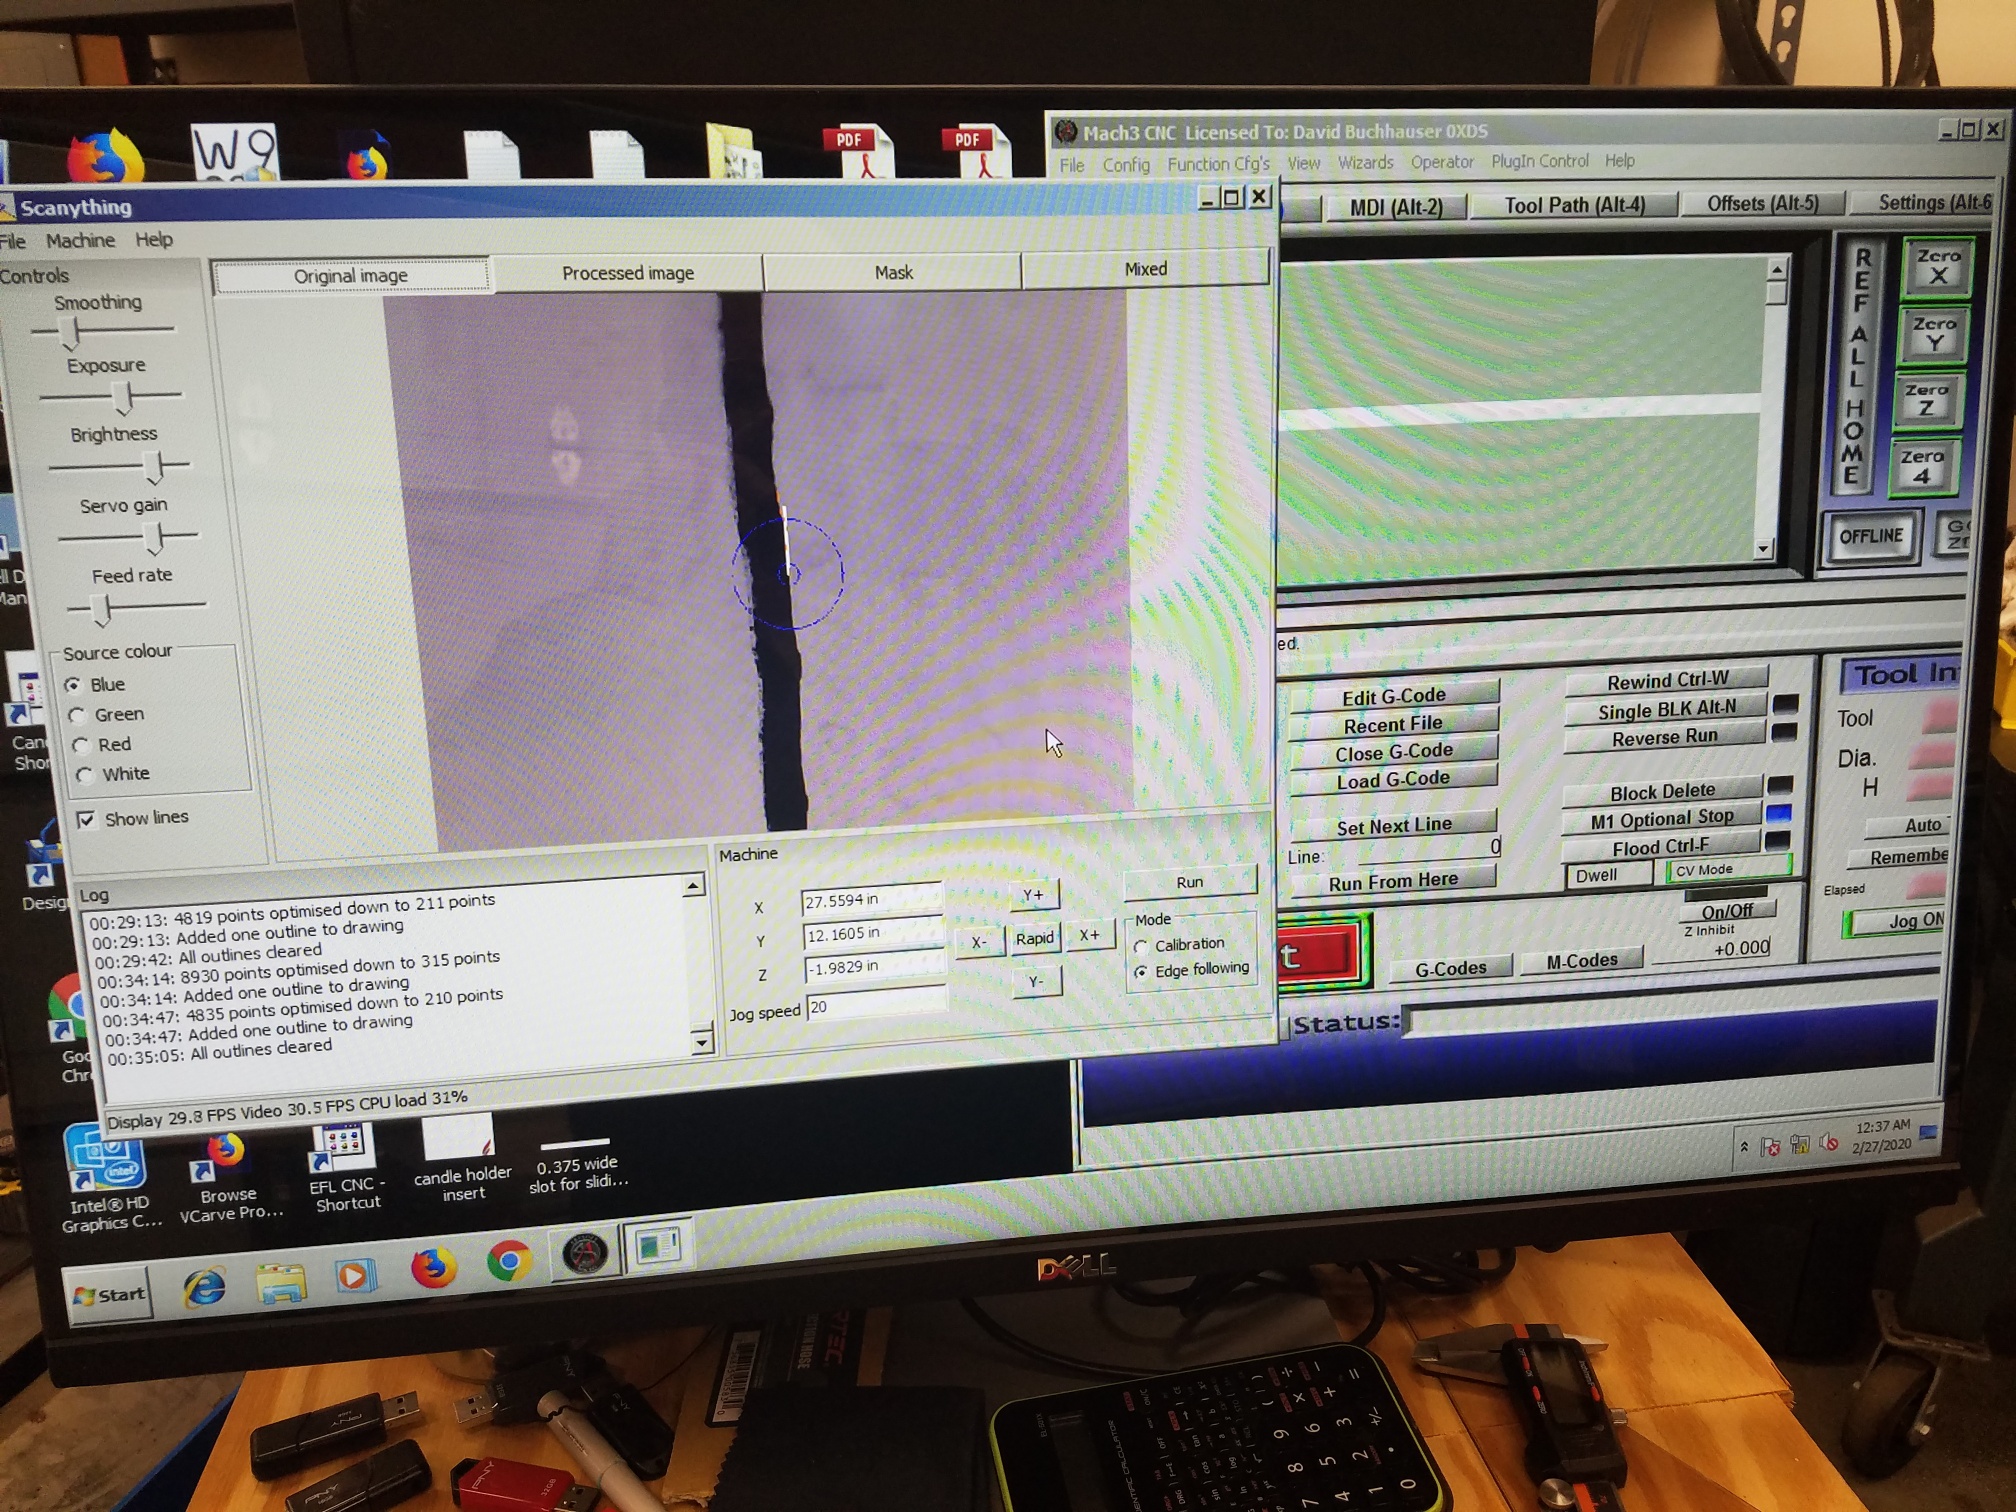
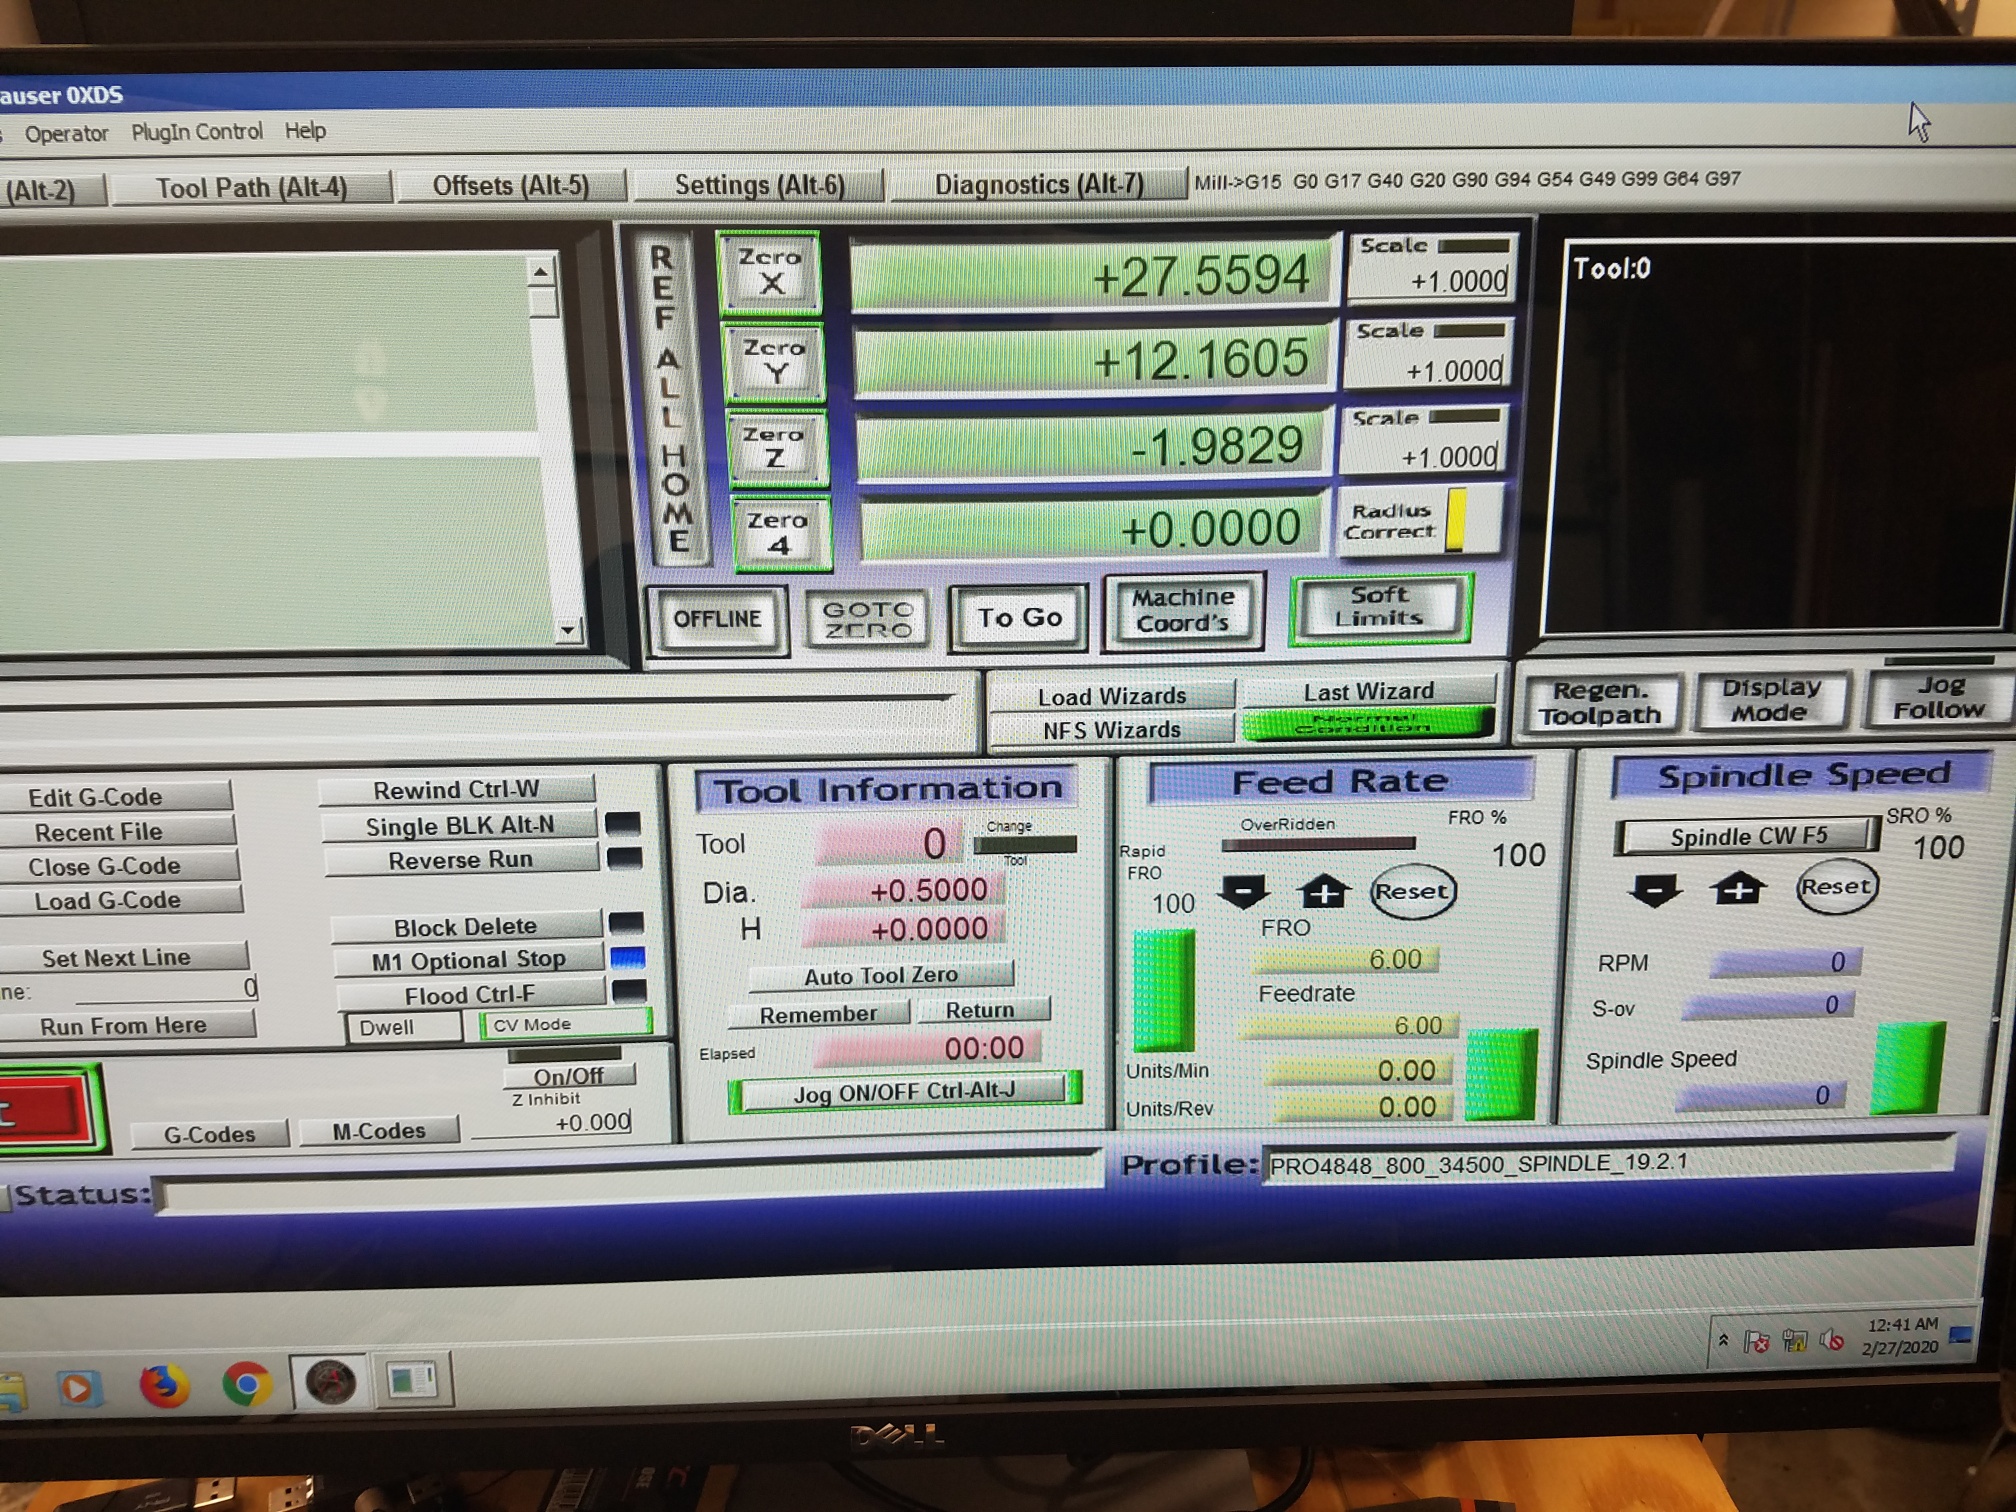
When I open Scanything, the jog buttons are not active.

I receive the following error messages when starting Scanything. I do have he plugin (SheetCamRemote.dll) installed in the C:/Mach3/plugins folder.
Any ideas what I am doing wrong here?

22:23:26: Checking for updates…
22:23:26: Not connected to machine
22:23:26: Error: file ‘’, line 1: ‘=’ expected.
22:23:26: Error: file ‘’, line 2: ‘=’ expected.
22:23:26: Error: file ‘’, line 3: ‘=’ expected.
22:23:26: Error: file ‘’, line 4: ‘=’ expected.
22:23:26: Error: file ‘’, line 5: ‘=’ expected.
22:23:26: Warning: unexpected " at position 89 in ‘"https://www.sheetcam.com/Scanything/Update/Windows.ini?id=&ver=1.0.16&os=Windows">here.</p>’.
22:23:26: Error: file ‘’, line 7: ‘=’ expected.
22:23:26: Connected to update server


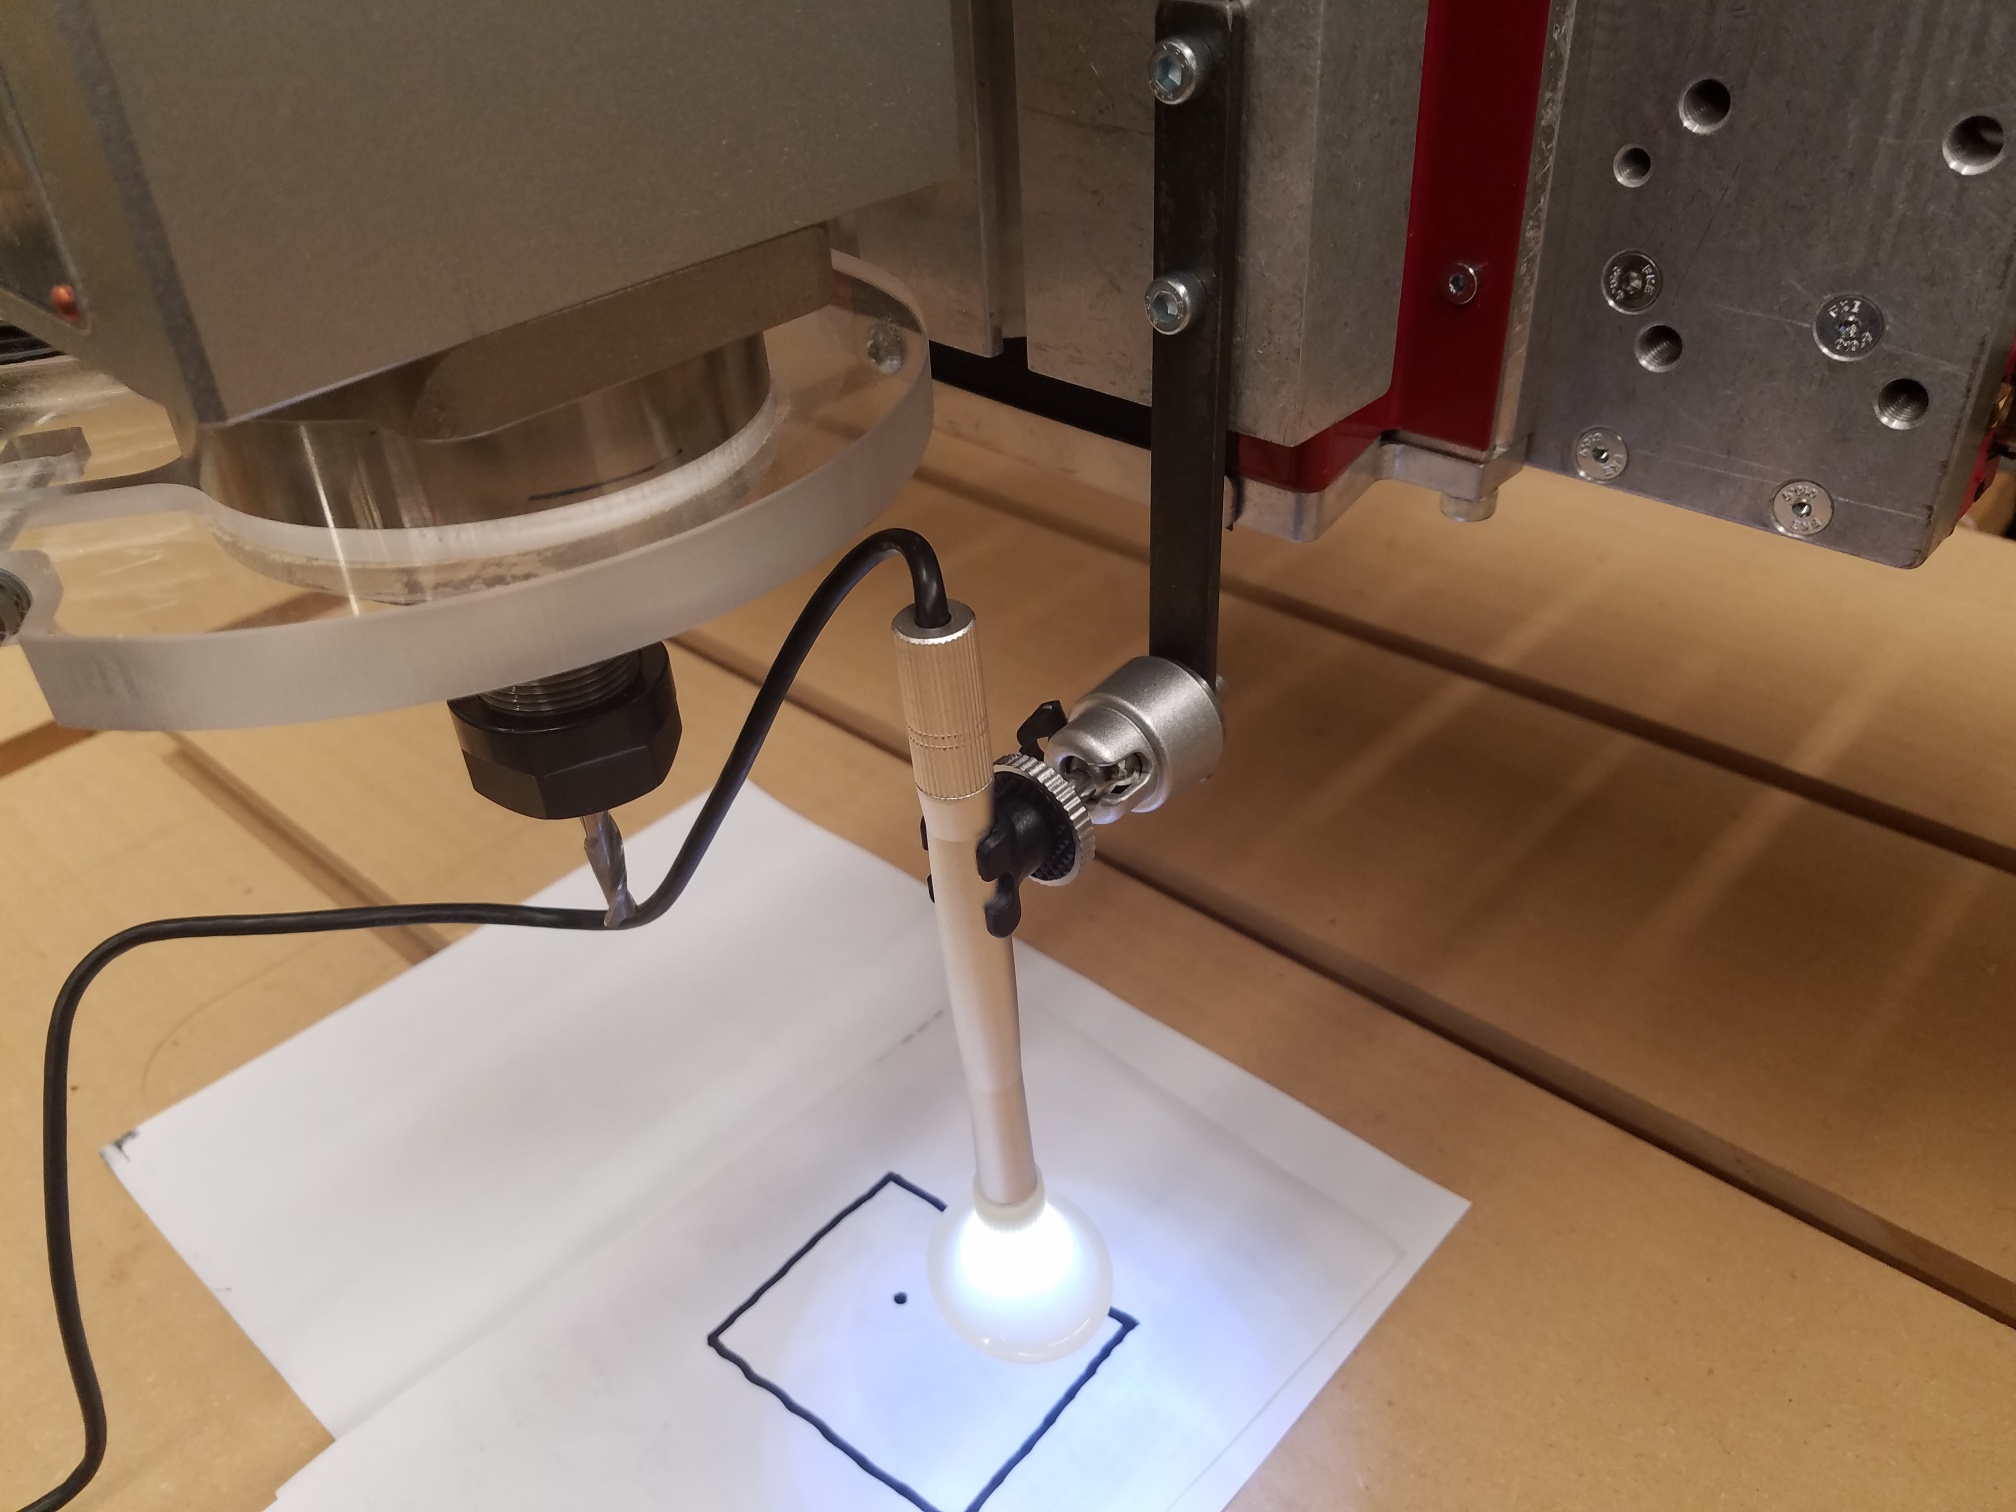
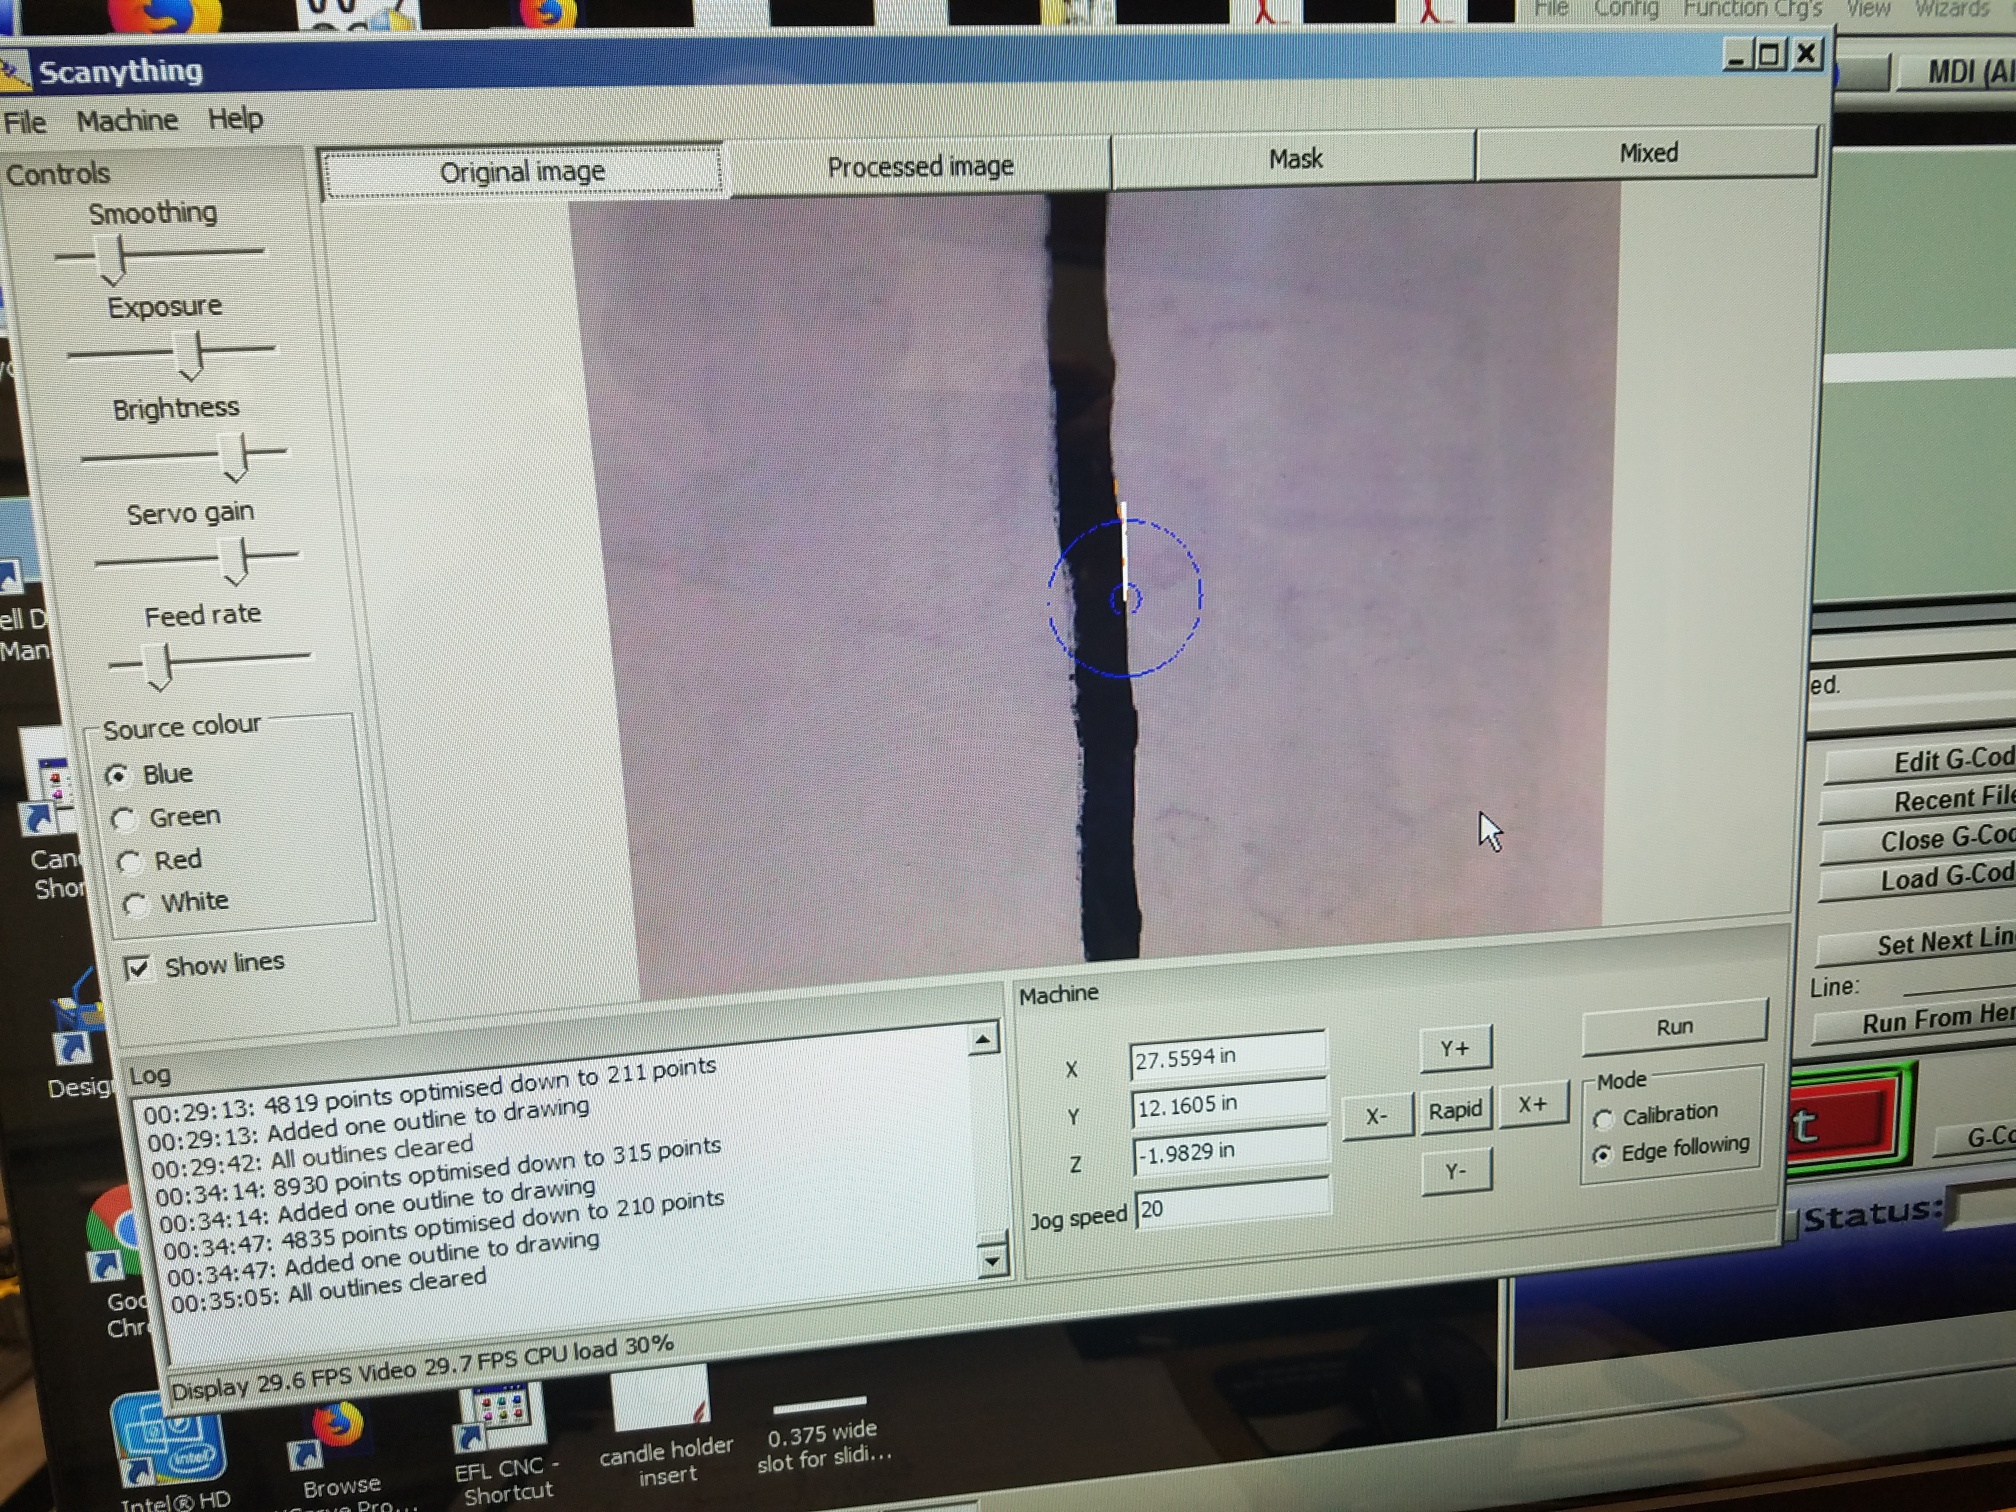
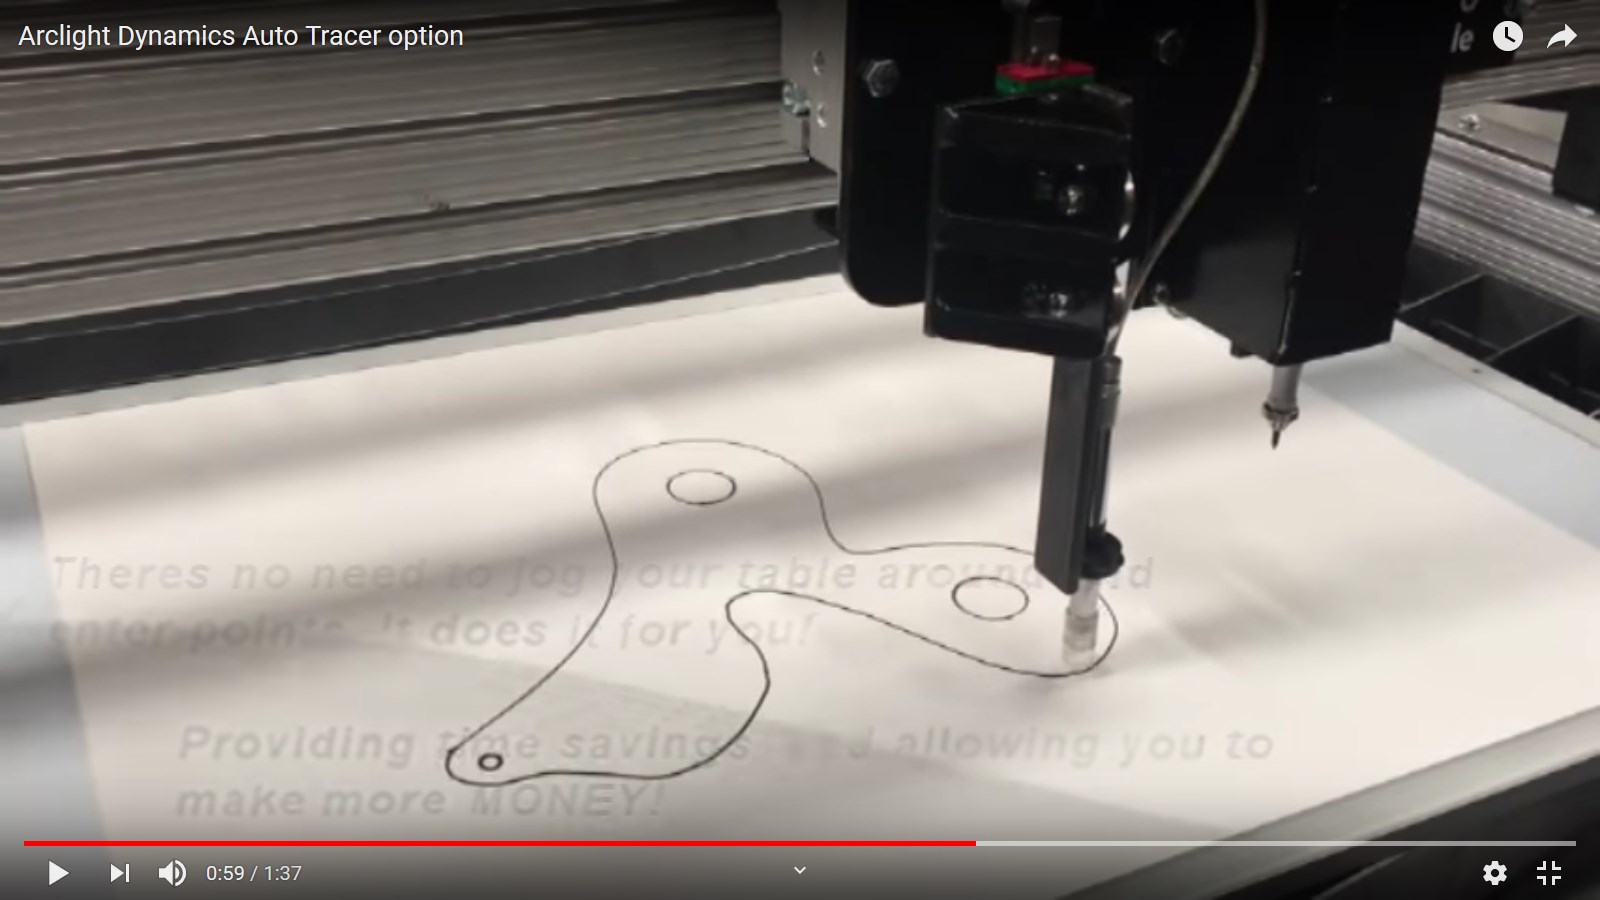
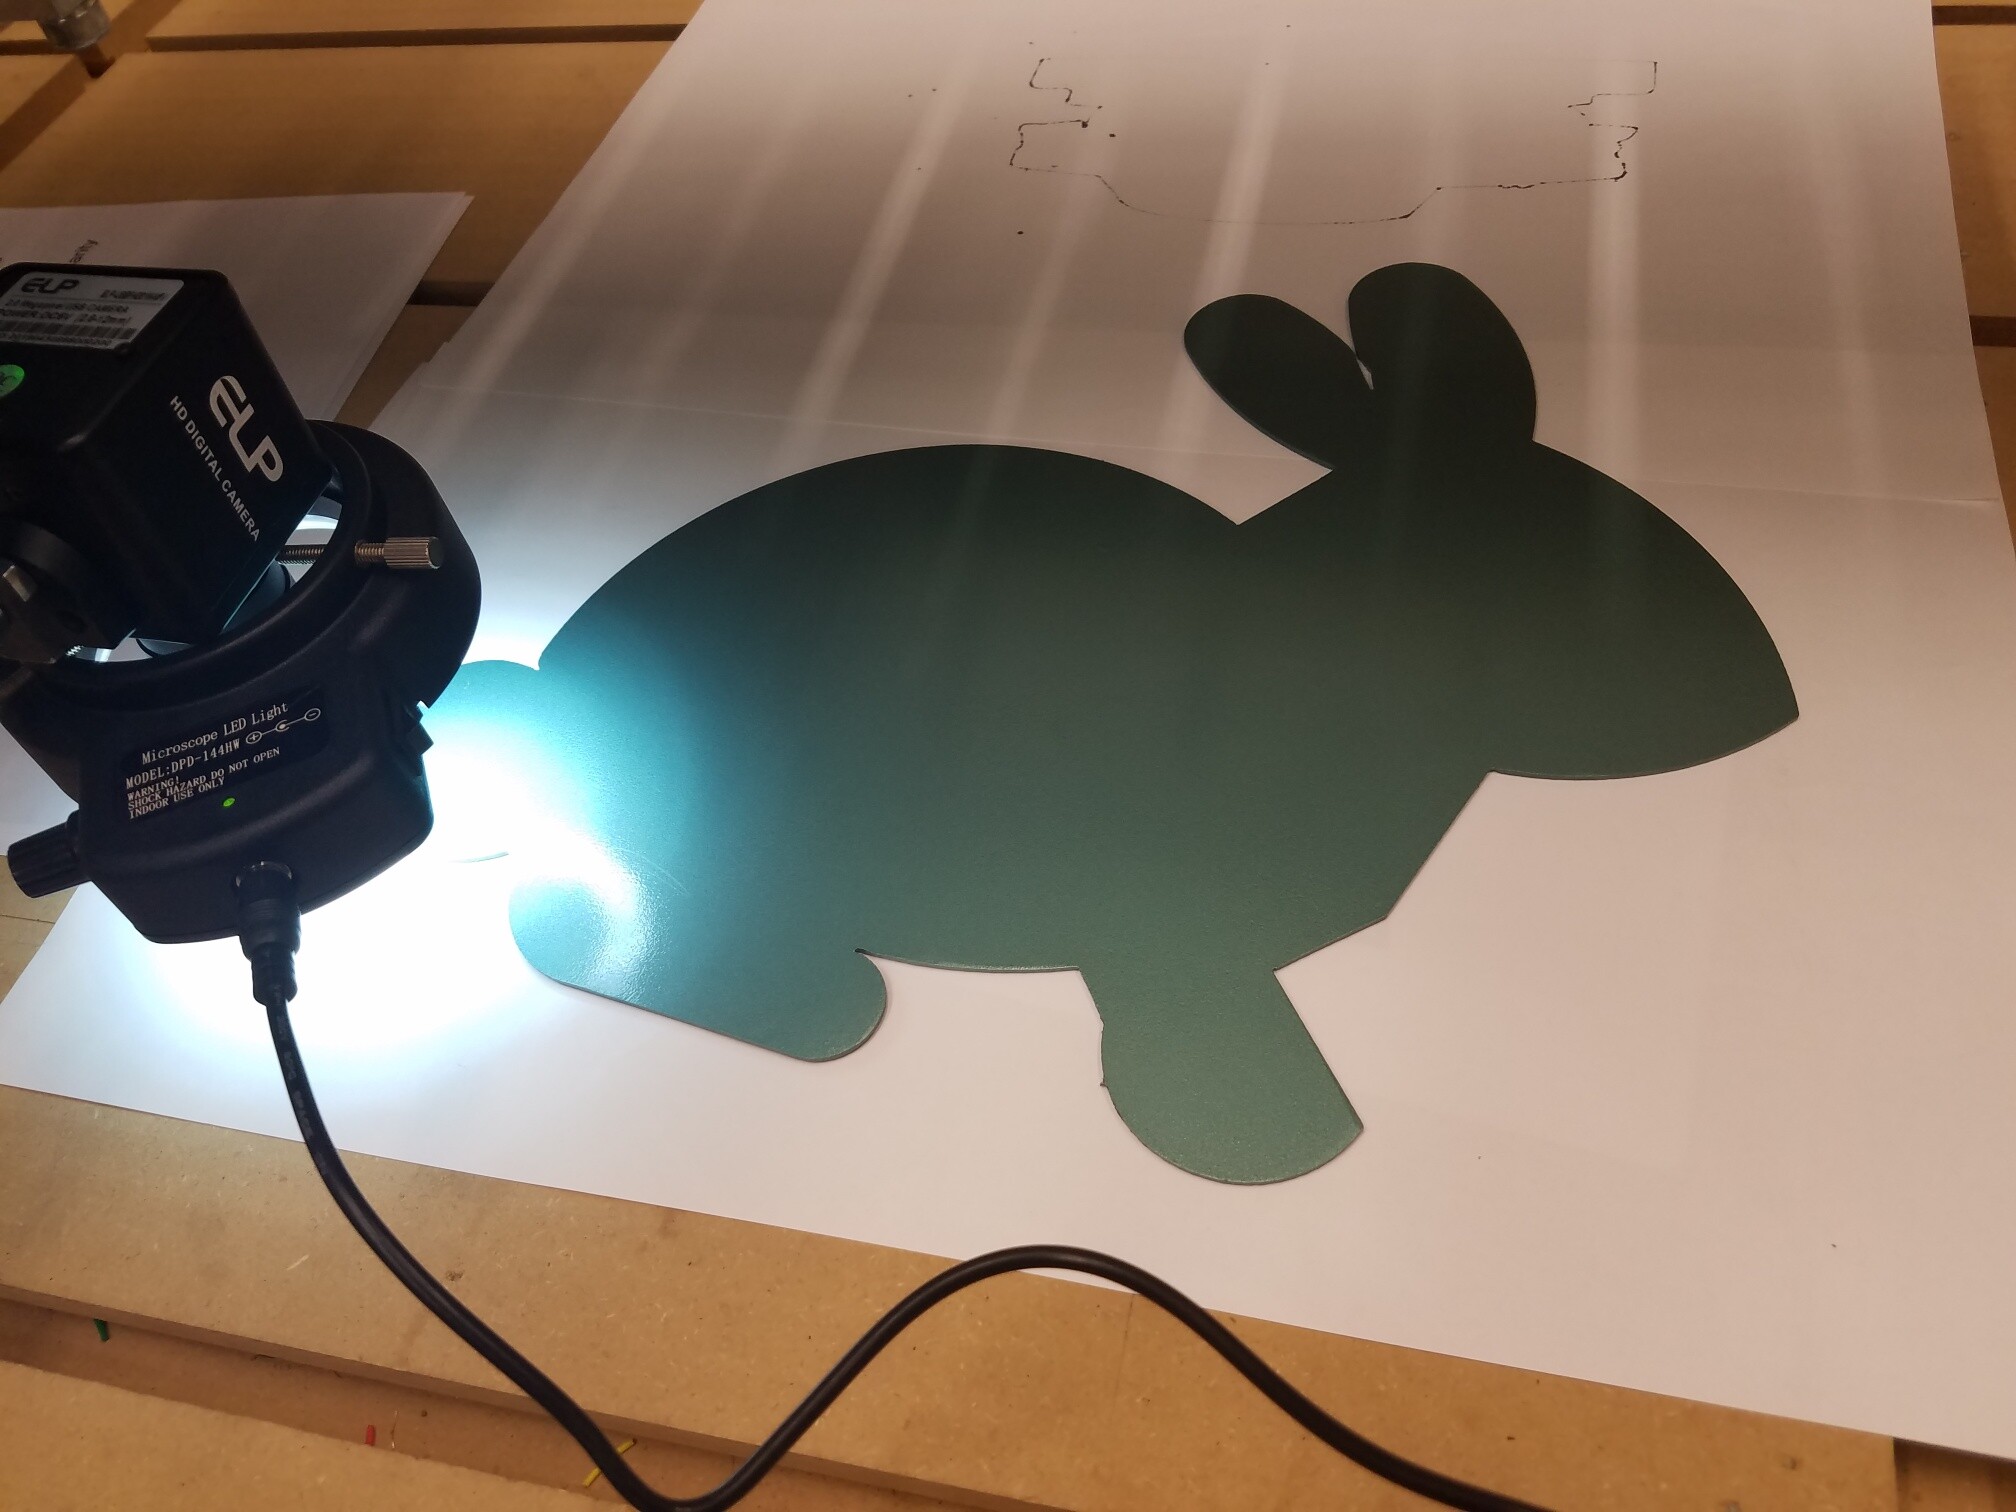
I have not yet purchased the video camera. The Scanything description says: “It is designed to work with a USB video camera”

In reading thru some of the other posts, they talk about using a parallel port for the camera, and that there might be a limitation of using Windows 32 bit operating system. Also - do I need a registration key in order to use Scanything?

Do you have any specific recommendations as to a suitable video camera to use here?

I will appreciate any input you can provide.
Thanks,
David

It’s been a long time since I’ve used Scanything, but I do remember a little. First off, you will need to enter a license key in Scanything/Help/about. That key should have been emailed to you by Les after you bought the Scanything program.
The camera is a USB camera. I can’t remember what it is I bought, but it does need to have a decent refresh rate. It is important for “up” in the camera view to match “up” with the jog keys.
You should be able to find quite a bit of information by using the search function on here, and on PlasmaSpider

Hope that helps a little, Steve

The jog buttons don’t need a camera but unfortunately Scanything won’t work with the ESS. I ave been looking into solutions but so far I haven’t found any way around the problem.

I played with it briefly on my table that is running Mach3 with a C&CNC Bladerunner which uses the ESS Smoothstepper and it seemed to work fine. Am I misunderstanding what you are doing?

Hi Les,
I installed Scanything onto my shop computer which is connected to my CNC Router Parts Pro4848 router table running on Mach3 thru the Warp9 ESS. After entering the code you emailed me and turning on the SheetCam plugin, so far it seems to work. The Scanything jog buttons work correctly, move the carriage and gantry around as normal when jogging, and the Scanything position readout agrees with the Mach3 position readouts (both in inch units). I don’t yet have a USB video camera, but I would assume that the video output from the USB camera which will be input to your Scanything program does not depend on the ESS for communication. Am I correct? Or am I missing something here?

I was waiting to order a USB video camera until I made sure Scanything would work with my Mach3/ESS setup. I would appreciate your thoughts on my progress so far.

Thanks,
David

Did you have a USB camera hooked up or were you just jogging your table around using the Scanything jog buttons? I can jog mine around, but I don’t yet have a USB camera to test with.
Thanks,
David

www.desert-hybrids.com

What is the recommended USB camera for use with Scanything? I have read recommendations to use the Andonstar brand. Which particular model?
Thanks,
David

You may still have problems when it comes to calibration and actually scanning. As for the camera I recommend this one https://www.amazon.co.uk/ELP-2-8-12mm-Varifocal-Android-Windows/dp/B01C2KR1R0/ref=sr_1_5?keywords=elp%2Bcamera&qid=1582632332&sr=8-5&th=1 It doesn not have a built in light so you also need a ring light such as this one https://www.amazon.co.uk/Youliy-Microscope-Integrated-Brightness-Adjustable/dp/B07W5PD9HK/ref=sr_1_8?keywords=microscope+ring+light&qid=1582632502&sr=8-8
A cheap option is an Xbox Live Vision camera. They are no longer sold new but they are pretty easily available second hand. The lens has a stop to limit the focal range and for close up work you need to break the stop off but that’s not difficult. Again you need a light source.

The problem with the usb pen style cameras is that you can’t lock the exposure. As Scanything relies on comparing brightness levels, variable exposure makes it a lot more difficult to track the edge. If you have really good contrast it doen’t matter but on more marginal scans fixed exposure is considerably more reliable.

I used this camera. It seemed to work pretty well.

I have tested those. They are ok but you can’t turn off automatic exposure. If you have one it will work but if you are buying a camera I’d recommend getting one that you can fix the exposure.

I went ahead and ordered the Supereyes B005 from Amazon for $27.99 - it will be here tomorrow. I think this will be fine for testing to see if Scanything is going to work with my Mach3/ESS setup. This will be easier for me to mount for testing than the camera Les recommends with the external led ring. If everything works out, then I will purchase the Scanything license and look into the ELP camera/external led setup.

Question for Les: How long is the temporary license code you sent me good for?

Thanks,
David

The temp license lasts about 30 days. If it runs out let me know and I’ll send you another.

I received and installed the Supereyes camera. I created a small dot on a white piece of paper as described in the Scanything setup video. When attempting to calibrate, it would lock onto the dot (in the center of the screen), then shift the camera so the dot appeared in the lower right corner of the screen. It then moved until it locked onto that dot again. Then it zoomed around (to lower left corner, upper left corner, etc. and ended up back in the center and went to the right, then left rapidly (I think several times) and then stopped. But it did not lock onto the dot in the lower left corner, upper left corner, or anywhere else - and did not show that is was ready to scan as shown in the setup video.

But when I then selected “edge following” and run, the large circle with the line popped up - so I assumed it was calibrated. I quickly drew a box (of sorts) to test it out. I was amazed that it did indeed lock onto the edge and followed the edge all the way around and back to the starting point. Then it ask me if I wanted to save it, and I was able to save as a dxf and open the dxf with Plasmacam Design Edge and create a cut path. I tried this several times with both the outer and inner edges of the line and it worked perfectly. Here is a video of it following the edge.

Here is the camera following the edge.

I then tried to trace a metal bracket, and several other items and it would not lock on. It would follow the edge very briefly, and then give the message that it had lost the edge (the same message that popped up many times in the Scanything setup video). At one point the Scanything program shut down (crashed) and I had to restart it. After that, I was not able to run the calibration successfully. I tried adjusting the settings (feedrate, servo gain, brightness, etc. ) and it would not calibrate. I also tried moving the camera closer to the dot (lowering the z axis) and moving it farther away (raising the z axis) with no improvement.

I am wondering if going to the better camera (suggested/recommended by Les) and adding the led light ring around the camera (also suggested/recommended by Les) would possibly help it to calibrate better.

I really don’t understand why using the ethernet/ess instead of a parallel port would cause problems with calibration. Is this due to some latency with the data transmission thru the ethernet/ess as opposed to a quicker response with the parallel port. By quicker response, I mean a shorter elapsed time between the initiation of a jog by Scanything/Mach3 and the actual machine movement.

Here are some photos of my setup.


Thanks Les!!

Les,
Will the camera with fixed exposure help with the calibration (as opposed to the camera with variable exposure)?
Thanks,
David

I noticed the camera in the Arclight Dynamics auto tracer demo video seems to be a lot closer to the table compared to the distance I was using. Does this make a difference as long as the camera is in focus. Also the Arclight Dynamics camera does not seem to have any internal light source, or maybe I’m just not seeing it in the video.

Will more or brighter light help to calibrate more easily?
Thanks,
David

When calibrating and running watch the ‘mask’ view. This is what the edge follower actually sees. If you get flaky calibration and randomly losing the edge it is often due to the brightness setting. Again if you watch the mask while adjusting the brightness you will hopefully find the setting that gives the clearest view.

The camera distance mainly affects accuracy. The closer you run the more accurate the results. Conversely the further away you run the faster you can scan. Depending on the amount of ambient light you may also struggle to get enough light on the subject if you run too far away. Keep an eye on the video FPS. If it drops significantly below 30 you need more light. The general rule is that you can’t have too much light, though reflections can be a problem with reflective surfaces.

By the way a useful trick is to deliberately run out of focus if your edge is a but rough, for instance if you are tracing a wooden template. Being out of focus will smooth the edges without having a major impact on accuracy. The biggest down side is that corners wll also be smoothed and rounded.

Looking at your video it appears to be tracking quite well, if a bit slowly. Try experimenting with the feed rate and servo gain. Servo gain controls how hard it tries to keep the circle in the center of the screen. Keep winding it up until you start seeing or hearing the machine hunting for position. You may want to deliberately crank it up too high just to get a feel for what that looks like.

As with camera distance there is a tradeoff between speed and accuracy. These cmos cameras take time to scan the image. This means that the top of the image is slightly older then the bottom of the image, causing distortion. You often see videos on YouTube where fast moving objects appear oddly distorted. This is the same effect. Again more light helps as this shortens the exposure time. The XBox Live Vision cameras apparently use a CCD sensor which does not suffer from this distortion effect. The ELP cameras are CMOS but they are pretty sensitive so as long as there is plenty of light they have a short exposure time.

I am wondering if going to the better camera (suggested/recommended by Les) and adding the led light ring around the camera (also suggested/recommended by Les) would possibly help it to calibrate better.

Yes it should hekp a bit. Scanything relies on detecting the transition between light and dark at the edge. Cameras with auto exposure are continuously adjusting the brightness of the image so that target keeps changing. When scanning a drawn line like your example the advantage isn’t that great because the average ratio of dark to light in the image doesn’t change a huge amount. However it is very noticeable if you are scanning solid shapes. Take for instance scanning a black square. When scanning along the edge half the image is black. The camera is trying to keep the average light level constant so it cranks up the exposure. Now you get to a corner. Now only about a quarther of the image is black so the camera drops the exposure. Cameras that allow a fixed exposure remove that variable. However you do also need a fixed light level, hence needing a bright ring light.

I really don’t understand why using the ethernet/ess instead of a parallel port would cause problems with calibration. Is this due to some latency with the data transmission thru the ethernet/ess as opposed to a quicker response with the parallel port.

That is the main problem. The whole system is effectively a big feedback loop. Feedback loops really don’t like any delays in the system. In previous tests I found the ESS had too much delay. It is possible they have improved things in that area.

Hi Les,
Thanks for your reply. The new camera I ordered should be here tomorrow. I will report back when I get it running and let you know how it works out. My question on the feedback loop is this: since the ESS ethernet connection may be causing some latency (compared to a parallel port connection) in the time it takes to jog the machine when commanded by Scanything, would it be possible to introduce a short dwell time into your software to compensate for this?
Thanks,
David

Hi Les,
I think I’ve got the new camera and led lamp ring working pretty well. It now seems to calibrate much easier and faster, and tracks pretty well once I get the settings right for a particular situation. I have experimented with the camera adjustable aperture. It seems to work best with it adjusted to wide open. I need the Exposure slider all the way to the left (minimum setting) for it to work. If I turn that setting up, then I lose the camera image on the screen. Here are some photos of the items I have scanned, along with the corresponding videos.

Les - I do have a question. If you take a look at the videos, you can see that the camera target circles seem to bounce back and forth along the path as it tracks the edge of the part. Any idea what causes this, and should I be concerned that it is affecting the trace file? It seems to decrease as the camera slows down around corners, and it isn’t as noticeable at very slow speeds (but still there).

My fps stays around 30, and the CPU load around 45% regardless of my settings changes. Should I be concerned, or is this OK?

So far I am very impressed with the Scanything operation now that I have the better camera and lighting. There is one feature that I wish Scanything had, and that is the ability to save a partial trace without having to trace all the way around the part. I can see where it might become frustrating with larger parts where it makes it almost all the way around the part, but then loses the edge. It would be nice to have the ability to save this partial scan, and restart from where it lost the edge and finish the scan. Would this feature be something you might consider implementing in a future version of the program?

Thanks,
David